
I was just in the right mood for this type of layout today!
Sorry, no video this time. I was actually planning to keep my traveler's notebook just for myself but then when the layout was finished I decided to share it anyway. That's the power of blogging habit!
So this is how I created it:
Sorry, no video this time. I was actually planning to keep my traveler's notebook just for myself but then when the layout was finished I decided to share it anyway. That's the power of blogging habit!
So this is how I created it:
1. I stuck a strip of wide 4'' washi tape to the left side of the spread;
2. I die cut my phrase out of white paper using Spellbinders alphabet dies (see the supply list below). This one is my absolute favorite by the way!
3. I have actually drawn my own backpack and a traveling bag on the right side of the spread (black ink outline and colored pencil coloring).
4. I have attached a few more strips of washi right on top of the drawings.
5. Using a sharp craft knife I cut around the outline of bags. I tried to be really light-handed to cut through washi tape but not completely through the paper underneath.
6. I peeled off all washi tape pieces that were overlapping the bag images.
7. I stamped a few phrases from the Simon's sentiment stamp set with brown ink and then attached a smiley sticker to the backpack. That's it!
I will probably be adding more travel layouts to my Instagram account soon so if you like this kind of creativity be sure to follow me on Istagram: @olgadirektorenko
Have a beautiful day!


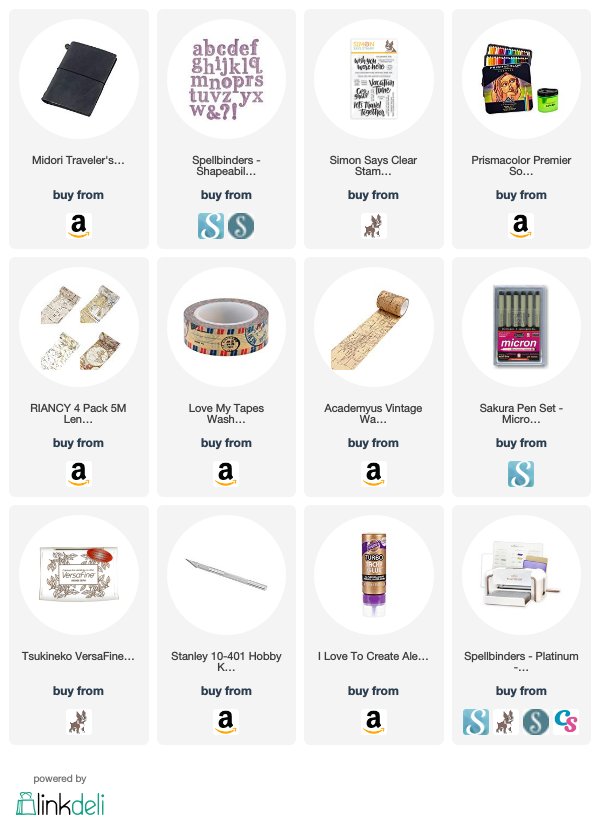
SUPPLIES:
Olga, that is a really nice job you did drawing both bags!
ReplyDeleteIt's awesome Olga, love to see this. Thank you for showing.
ReplyDelete