Pages

Saturday, April 28, 2018

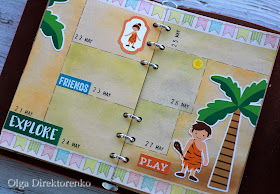
MY BULLET JOURNAL / WEEKLY PLANNER 2018 - May Weekly Spreads

Hi, hope you are having a wonderful weekend!
The new video of my Planner series is up! This time there will be 5 layouts plus a little surprise is waiting for you in the video - I have an invited dinosaur expert!

As always, each spread is completely different style from cute childish to vintage depending on the inspiration washi tape. 

Without further ado let's move on to the pictures and a video tutorial!


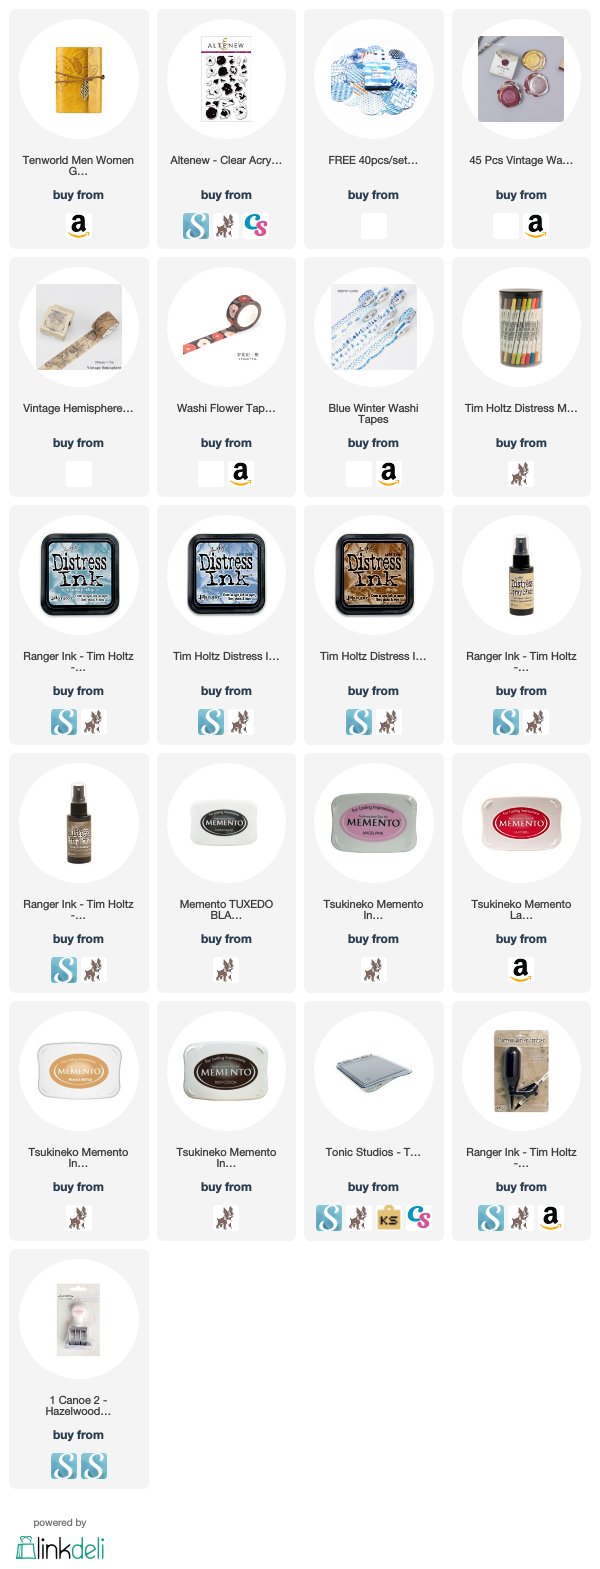
SUPPLIES:
Wednesday, April 25, 2018

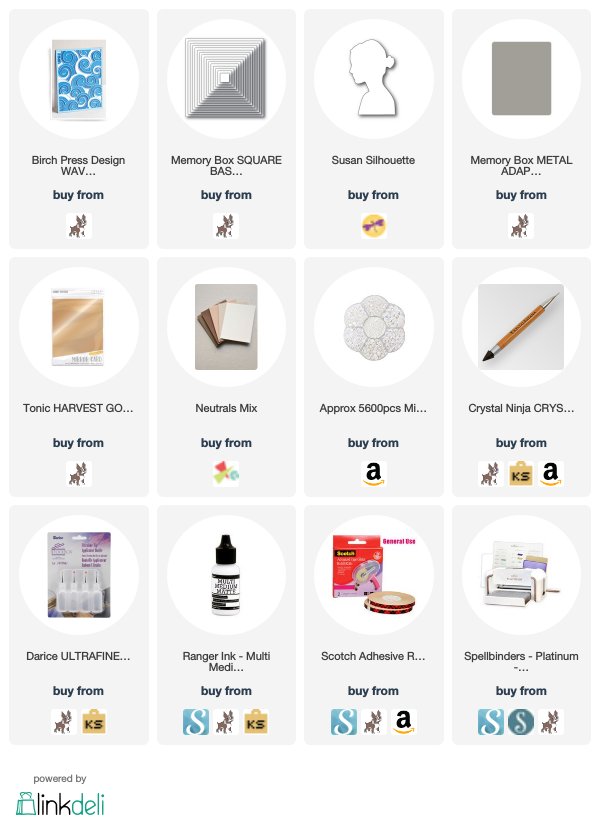
Art Deco Silhouette - Layered Handmade Card

Hello crafty friends! My last project was a card inspired by Van Gogh paintings and it was created with the Waves layering die set by Birch Press design in shades of grey.
This time I went with the shades of brown and used the same die set to create a card inspired by Klimt artwork.

This card is pretty easy to make - it is all about stacking the die cuts and creating layers. Watch the video tutorial below for all the tips and tricks of die cut layering!


SUPPLIES:

Tuesday, April 24, 2018

Spellbinders Blog Hop Winner!

Thanks everyone who hopped along with Spellbinders and left comments on my blog! It always warms my heart to hear from you! 


The prize winner chosen by Random.org is JOY MEADOWS. Winner please contact me at olga.direktorenko@gmail.com to claim your prize!


Sunday, April 22, 2018

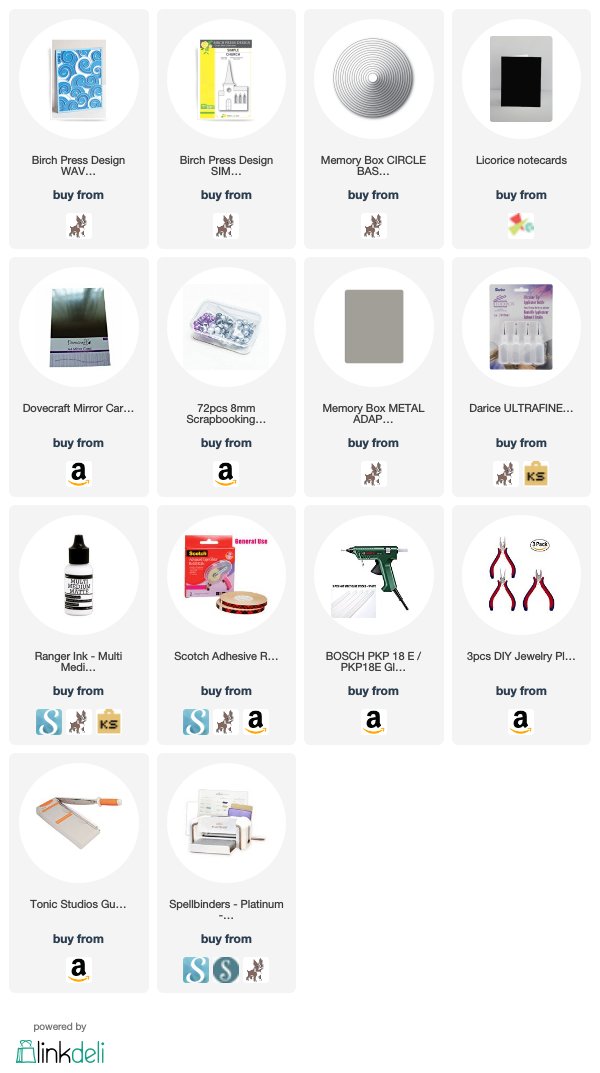
Art Deco Church - Layered Handmade Card

Hi there, hope you are having a wonderful weekend!
The card I am presenting today is quite multi layered but it is easy to create and it is also mailing friendly. 

The design was actually inspired by two pictures by Van Gogh (watch the video tutorial below) although I was not trying to adopt the color scheme or make the inspiration recognizable in any way.

I have featured some dies by Birch Press Design to create this textured swirl background as well as the focal image. Watch the video for a step by step guide on making this card!


SUPPLIES:

Wednesday, April 18, 2018

Home Preciousss Home - GIVEAWAY! (now closed)

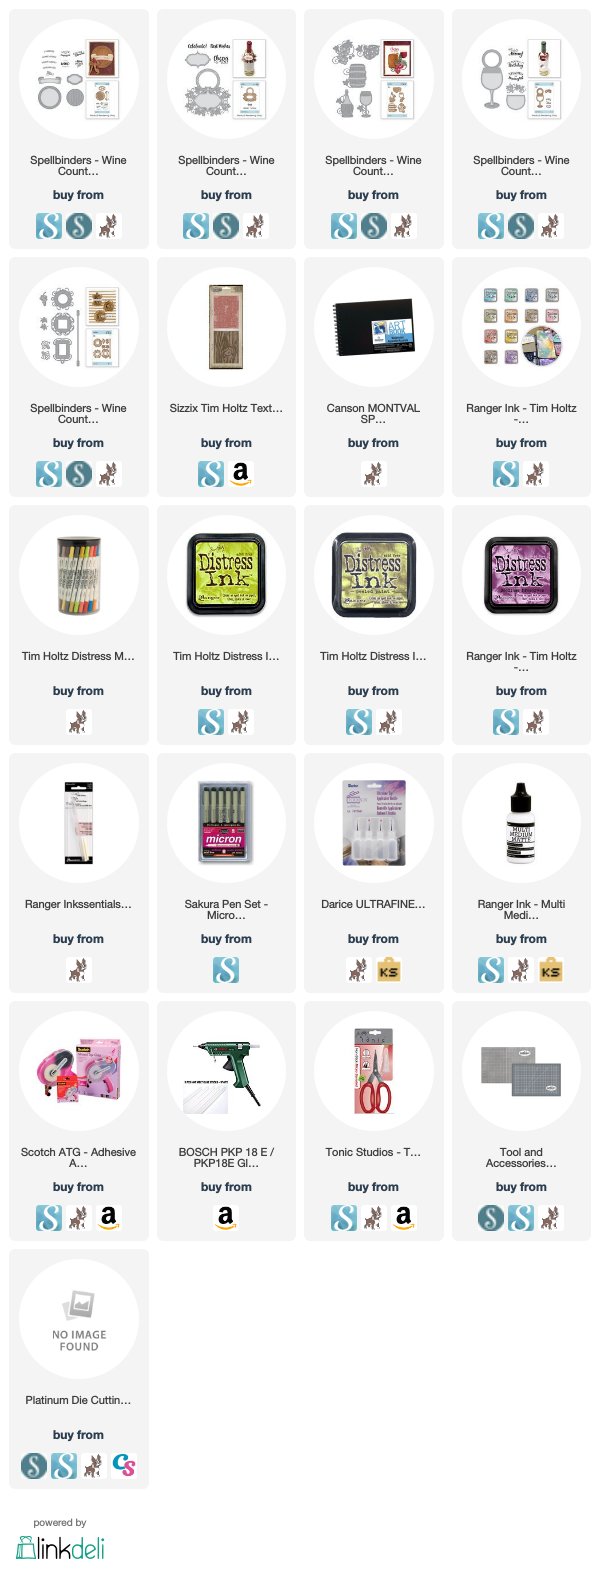
Hi crafty friends! Today's post is a part of a blog hop organized by Spellbinders. They are releasing four (!) collections this month and I am going to feature some dies from WINE COUNTRY collection designed by Stacey Caron.

If you are hopping along you must have arrived from Kittie Caracciolo's blog. If not - no worries! - here is the full list of participants:

Spellbinders Debby Hughes Kay Miller Julia Altermann Laurie Willison Miriam Prantner Emily Midgett Yana Smakula Nichol Spohr Sharyn Sowell Melissa Phillips Susie Lessard Virginia Lu Nina-Marie Trapani May Sukyong Park Rubeena Ianigro Zsoka Marko Helen Salo Sandra Nagel Janette Kausen Kittie Caracciolo Olga Direktorenko Svitlana Shayevich Mayline Jung

GIVEAWAY:

PRIZE #1 - $50 gift certificate to Spellbinders store 
For a chance to win it leave a comment on Spellbinders blog by Sunday, April 22.

PRIZE #2 - $25 gift certificate to Spellbinders store
For a chance to win it comment on THIS POST below by Sunday, April 22.

This giveaway is now closed. The prize winner is Joy Meadows.


Now to the project! 
The card I have made is all about re-purposing the dies and creating something completely different than that they were meant for. 
I have used wine themed dies to make a card shaped like a hobbit house! When I saw the barrel die for the first time I thought it was looking like a hobbit door so I decided to stick to that idea to create the rest of the card and this is what I ended up with.

Please scroll down for some close ups and a VIDEO TUTORIAL!


Thank you so much for stopping by! The next stop on the hop is amazingly talented Svitlana Shayevich - keep hopping for more inspiration and more prizes!

SUPPLIES:

Sunday, April 15, 2018

Trifold Shaker Card

I was thinking of a way to create a layered card without mounting the die cut layers one on top of another and I came up with this idea of making a trifold card. 

This way the structure of a card base creates layers all by itself, I just had to add some complexity by using dies that cut negative spaces, by making one tab shorter than others and by adding dimensional shaker element to the front. There is also one image added to the inside of the card.

Watch the video tutorial below to see exactly how this card was created!


SUPPLIES:

Friday, April 13, 2018

Die Cut Suncatchers

Hi crafters! I would like to share how I created some suncatchers today. 
Suncatchers are so much fun to make and to play with and they are so quick and easy! They would also work great as tags for large gift bags and boxes.

To make mine I have used a couple of large dies by Spellbinders and I have some fabulous news to share!
...............
DISCOUNT ALERT

Spellbinders are granting 15% DISCOUNT to all my viewers to be used at Spellbinders online store one time per customer at any time till the end of the current year. It works for all products except the ones in Clearance section (those are already discounted).

Just use the code SBSAVE15 at checkout. 
...............

Please scroll down for some close ups as well as the video tutorial!


SUPPLIES:

Wednesday, April 11, 2018

THOUGHTFUL GIFTS - Masculine Coffee Themed Gift Card + Mini Shaker Card + Envelope

Hello everyone! Today I have created a mini envelope to put a gift card to a coffee place into. Plus I have created a tiny shaker card to fit into that envelope as well. It is very similar to a placement card because it is meant to be standing upright on a surface. I have decided to make this card completely clear and use sequins to create a colorful background.


 I absolutely love the new alphabet die by Gummiapan (see the supply list below) that I used to create a sentiment. Most of alphabet dies on the market are medium to large size and only good for large focal sentiments, but with this little guy you can create smaller inscriptions and even do longer phrases! Because the letters are this freehand funky style you don't need to line them up - they look just fine when they are "dancing" on your card!


Watch the video tutorial below for the full how to guide:


SUPPLIES:

Saturday, April 7, 2018

Creating Mini Circle Windows for Pearl Embellishments

The project I am sharing today is an almost one layer and nearly one color card. Although the design is quite simple I have jazzed it up with some fun techniques. 

The large circle border layer I used is actually meant to work with another border die that serves as a bottom layer for it. But instead I decided to attach some pearls to the inside of the card so that each circle becomes a little window for a pearl.  

I have also used a punch tool to create more tiny circle windows - I scattered them around the card front and attached more pearls behind them.


Watch the video tutorial to see how to create this card:


SUPPLIES:

Wednesday, April 4, 2018

MY BULLET JOURNAL / WEEKLY PLANNER 2018 - April Weekly Spreads

Hello there,
It's the time for the new video of my Planner series. Today I am going to create 4 weekly spreads for the month of April.

As always, I am starting with attaching some washi tape to the pages and then create the rest of the layout inspired by that washi tape design.

The first layout is the monochromatic travel themed one. I have used the masking technique, distress ink spritzing plus I have attached some stickers.    


The second layout also features stickers. The background is done with 2 different stencils one of which I have created myself.


The next weekly spread is vintage. I have used some distressing techniques and attached seven wax seal stickers for each day of the week:


The last spread is bright and colorful floral one where I had fun with layered stamping.


Watch the video tutorial for a step by step guide on how to create all four layouts:


Thanks for joining me today! See you again in a couple of days!

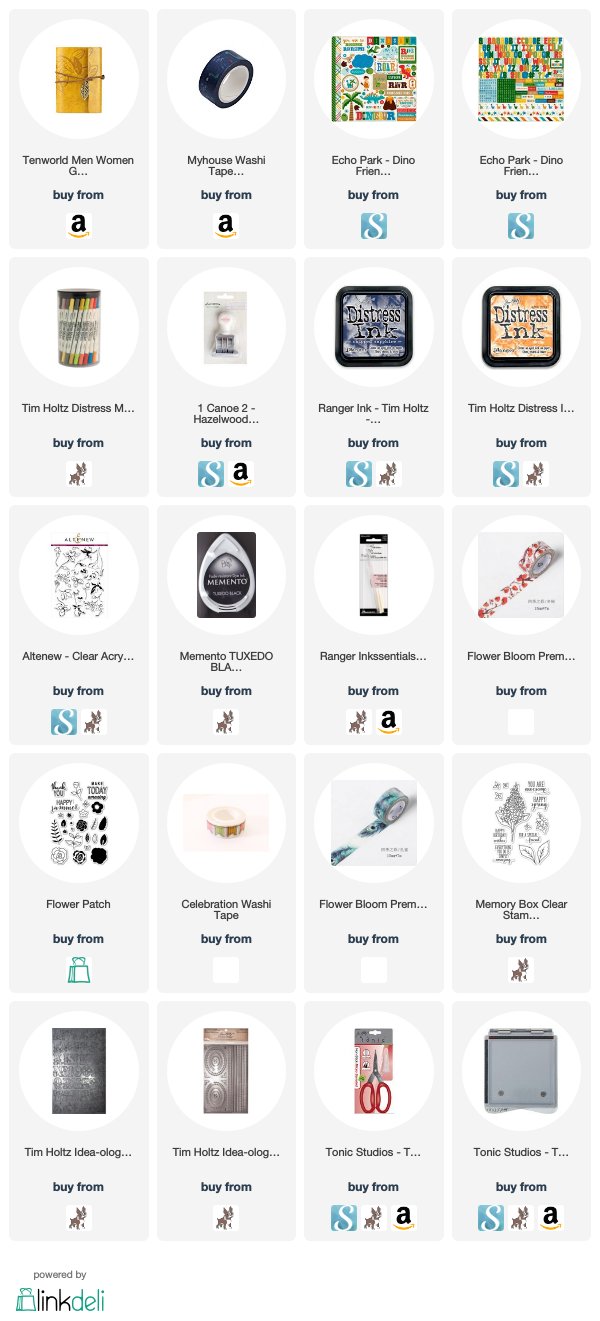
SUPPLIES: